When you have generated a report in Create Lists, you may want to export the data to compare and/or sort the elements to locate the information you want. To do this highlight the Review file for you report and click on the Export button
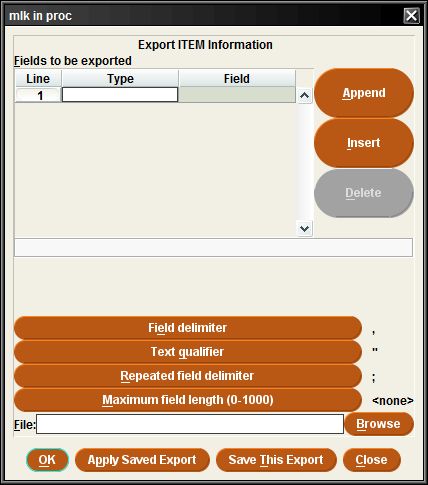
This will open a window where you can select the elements of the records in your Review File that you want to export.
You can export elements that are not from the same types of records as the ones in the Review File. This means that if your Review File found Item records, you can still export elements from the Bibliographic record – such as Language or Title.
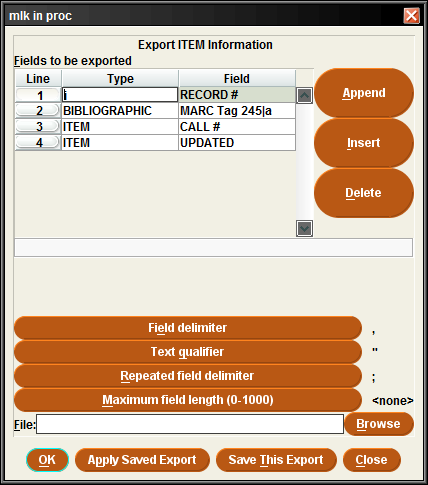
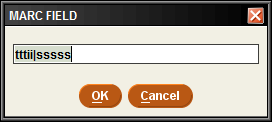
To export Title, choose MARC Tag instead of the Title option. You will be prompted to supply which MARC tag information you would like Create Lists to export.
Type in 245|a for the information found in the subfield a of the 245 tag.
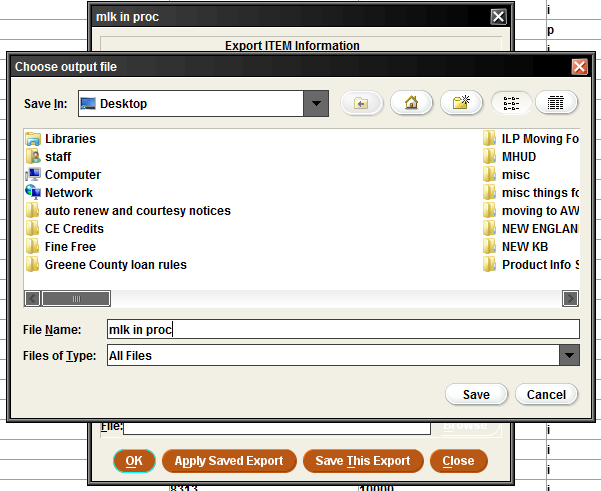
When you have the Export fields defined, click on the Browse button to name the file and select a location for the file to be sent to, such as your desktop. Click on Save and the OK button. A box will appear briefly to let you know that Sierra is exporting the data.
The record will be stored as a Notepad file. Open a spread sheet program, such as Excel and, from File, click on Open. You will need to locate the Notepad file. By default, Excel will be looking for Excel files. If you do not see your file listed, make sure that the file type that you are searching for is All Files.
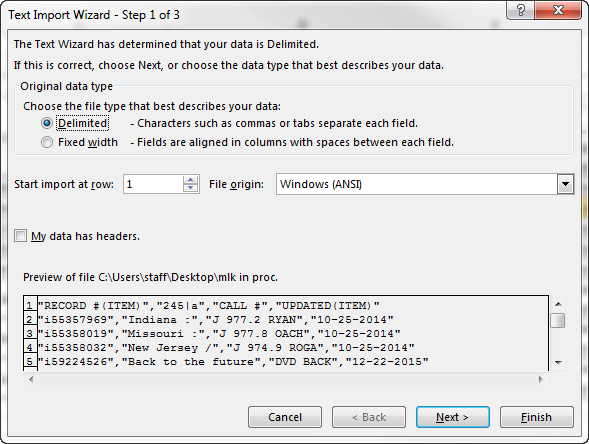
Answer a few questions about the format of the data, first that it is Delimited – click on Next.
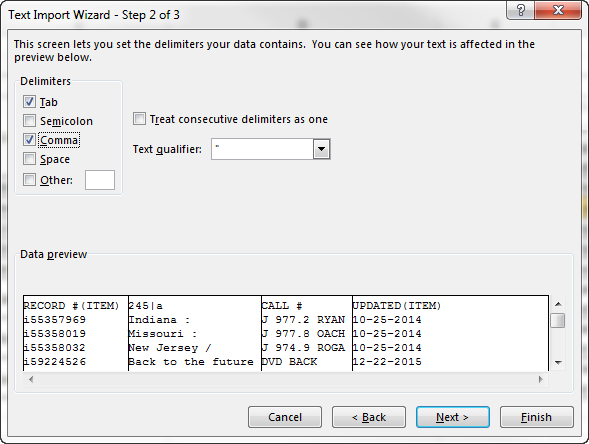
That it is Delimited (separated) by a Comma – click on Next.
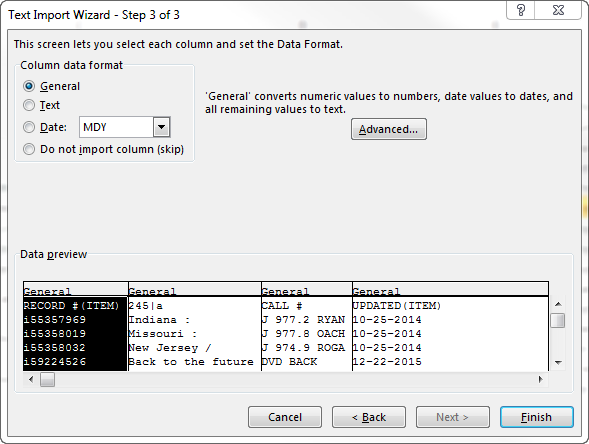
And then leave the format set to General – click on finish. Your spread sheet will open.
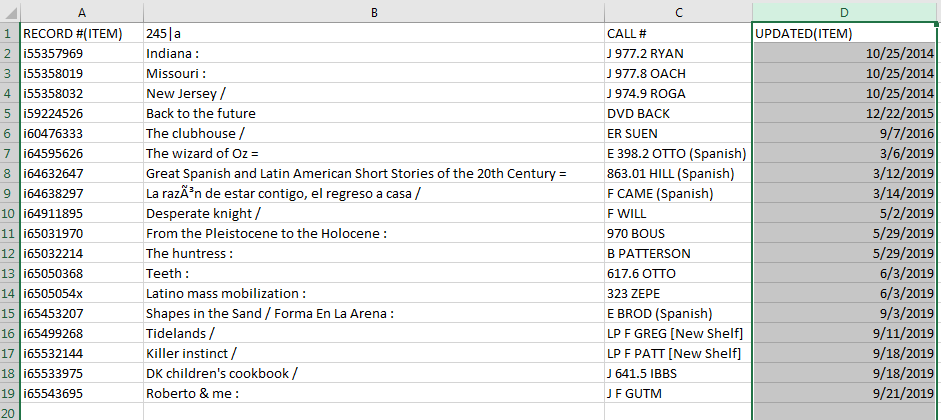
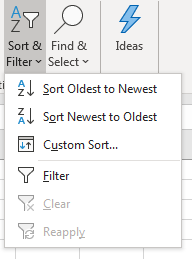
You may need to change the field names, from 245|a to Title for instance, but your data is now ready for you to work with. You may also want to sort by a particular field to group items together, such as when the records were last updated –