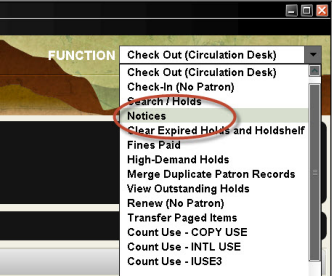
In Sierra, Select “Notices” from the “Functions” drop down menu. Click the “New” icon to create new notices.
Choose the type of notices you would like to pull by selecting your desired type from the “Notice Type” drop down menu. In the “Location” pane, your library should be the default selection.
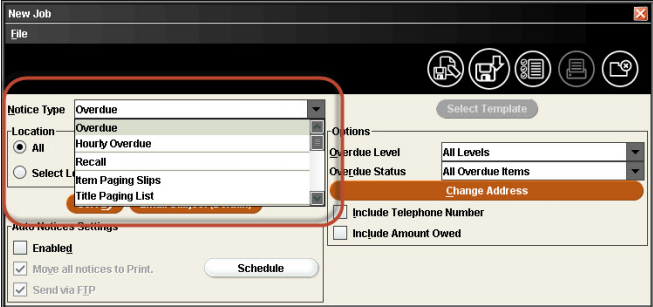
Depending on which notice you have selected, Sierra offers a different set of options in the “Options” part of the window, on the right. These options are listed below. All options are not available for all notice types.
Amount Owed – Limit the statements of charges you generate by the amount patron records owe your library. Use the Greater Than and Less Than text boxes to specify the desired range.
Bills less than will not be sent – Displays the minimum charge required for Sierra to generate a fine notice.
Change Address – By default, Sierra includes ADDRESS1 field from the patron record on the circulation notices for all P TYPES. You will not need to change this feature. Academic and school libraries use this to mail notices to non campus addresses during recessed periods.
Include Amount Owed – Include the total amount, if any, that a patron owes the library.
Include Telephone Number – If you select this option, Sierra includes the patron’s telephone number on the notices that you generate.
Limit by P TYPE – My default, Sierra generates notices for patron records of all P TYPE(s). To limit the patron records for whom you generate the notices by P TYPE, choose the “Limit By P TYPE” button. In the dialog, select the P TYPE(s) for whom you want to generate the notices. Choose Save or Cancel to retain or discard your changes.
Limit To – Limit the types of items that can appear in the statements of checked-out items that you generate.
Overdue Level – Specify which level(s) you want to generate notices for.
Overdue Status – Specify the overdue items for which you want to generate notices.
Preparing & Sending Notices
Once you have made you parameter selections click the “Prepare Notices” icon. The first time through you may be asked to select your printer.
Sierra generates table with tabs on the left separating results into Notices, Items Not Sent, & Items Emailed.
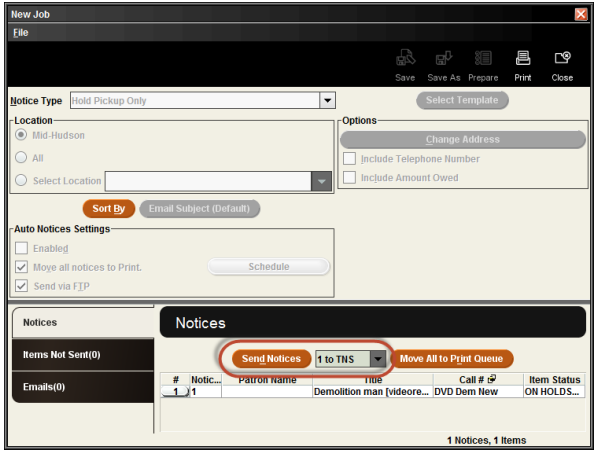
Sending Notices
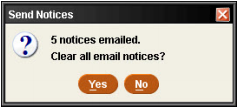
- To send the email – Click “__ to E-mail” from the yellow-circled drop down menu. Click “Send Notices”. You will be asked where to start the print job. Click OK to print all or change the starting number. Once email is sent, you will be asked to clear the file. Click OK.
- To move the email to the print queue – Select “__ to E-Mail” from the yellow-circled drop down menu. Click “Move All to Print Queue”. This combines all notices to be printed to your selected local printer.
- To Print To Your Local Printer – Select “__ to Print” from the yellow-circled drop down menu. Click “Send Notices”. You will be asked where to start the print job. Click OK to print all or change the starting number. Once email is sent, you will be asked to clear the file. Click OK if the printout was alright.
Your successful and unsuccessful email can be viewed by looking under the “Emailed” and “Items Not Sent” tabs on the left.